About
Learn how to effectively use Sites & More CRM tool to manage your customers and drive business growth. In this tutorial, we will show you how to create custom properties, segment your customer data and categorize your customers for easy organization and filtering.
Transcript
Scene 1
In this video, we will delve into CRM and contact management. The contact section is where all of your
leads and contacts are stored. This includes individuals who submit forms, book appointments, sign up
for memberships, or purchase products from your website or funnels. Managing these leads has never
been easier with this CRM.
By clicking on each lead, you can access their profile and view all of their pertinent information,
including their actions and interactions with your brand. This information will be incredibly valuable as
you work to build relationships with your leads and convert them into customers.
If the person has submitted a form and you can view the information in this submission. The form
includes details about any orders, memberships, subscriptions, etc. that the person may have, however,
if they don't have any, these details will not be displayed.
You can view all the existing properties of a customer by clicking on the "Show all properties" option in
your CRM. This will display all the information that has been added for that customer and you can
update it at any time. You can also add tags to a customer, which will help you categorize and segment
them for future reference. This can be done automatically or manually for the form, appointment, and
other areas.
You can apply filters to your contacts, for example, you can filter by tags, phone numbers, or any other
properties. This makes it easy to locate specific customers in your database.
With this feature, you can easily segment your users based on specific criteria. To do this, simply add a
filter, and if needed, another filter to further narrow down the results. Once you have the desired
segment, you can save it for quick and easy access in the future. For example, if you want to create a
segment of all users whose email address starts with"Marie", simply add that rule and name the
segment.
In addition to segmenting your users, you can also import contacts from other sources using a CSV file,
or manually add them through the "Add User" button. Customize the columns you want to see, such as
the user's CITY, to make managing your contacts even easier. With all your contacts in one place, it's
never been simpler to manage your leads.
Scene 2
With our membership feature, you can easily manage your members by assigning them to specific
groups. These groups can have access to different content, and you can keep track of their activity such
as last login or registration date. In addition to membership, we also offer a contacts section where you
can view all the forms submitted by your users.
This feature makes it simple to see exactly what information has been submitted, and you can even
view each user's profile if needed. The best part is that you have all of these submissions in one place,
making it easy to export or search for a specific submission. No more searching through your inbox for
form submissions, with our contacts section, you can easily access all of your submissions in one place.
You can locate your users and messages in the "Messages" section, respectively.
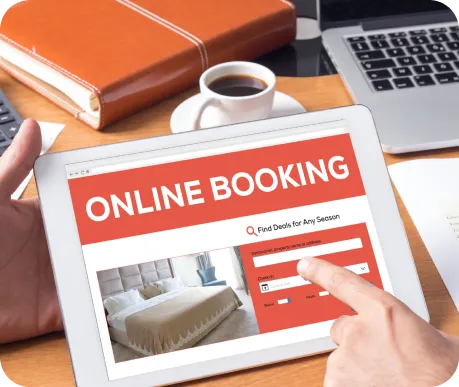
The "Booking" section is separate and serves a different purpose.
The "Emails & Automation" is discussed in a separate video.
In the "Settings" section, you can manage your properties and contacts.
To create a new property, you can use a form or manually add it. You can define the type of property,
such as a number or a list of options, and make it available in forms by selecting it when creating the
form. This allows you to collect different information from your users.
Additionally, you can manage your tags and membership settings for memberships from the same
"Settings" section.
If you're interested in enabling registration notifications, the default group is the way to go. But, in future
videos of the membership series, we'll delve deeper into the membership aspect. Managing your leads
has never been easier. All forms, appointments, sign-up forms, and checkouts from your website and
photos are automatically added to this central location, making it simple and enjoyable to manage. We
hope you find this feature useful and we look forward to our next video.
Other Series
Quizzes & Survey
Start building your own quiz funnel, create your funnel steps, options, skip logic and scoring.
Membership
Create secured content area for specific members.
Manage membership groups and the members
associated with them.